I get asked this question at least once a week…How the heck do you print on a sticky note?
I want to respond with just one word. MAGIC. Because let’s be real, it’s kind of magical that you can take one of God’s greatest gifts to teachers – the STICKY NOTE – and customize it however you want.
Once I figured out this magic trick there was no stopping me.
I am a sticky note printing machine.
-
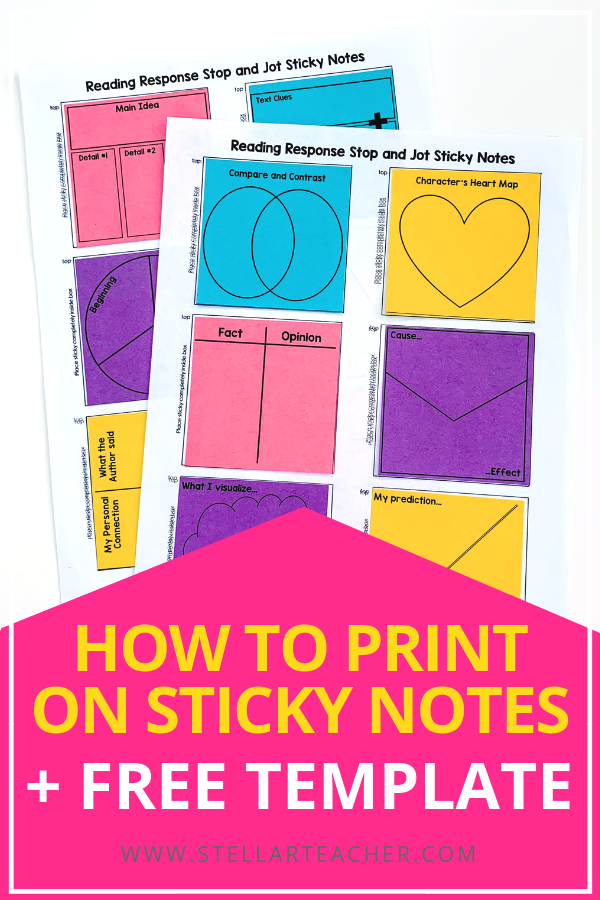
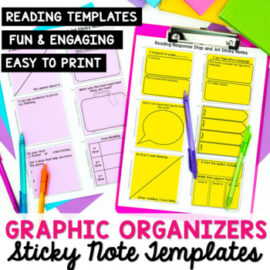
I made cute little graphic organizer templates to give my students some accountability during their independent reading time.
-
I made problem solving templates to help me teach elapsed time during small group math.
-
I made sticky note templates to help my students practice making inferences.
-
I made sticky note templates to remind my parents when there was no school or if they had a parent conference coming up.
-
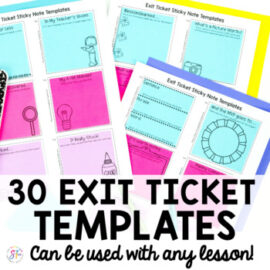
I made a set of positive and encouraging sticky note templates that I could leave on my students’ desks when they needed a little bit of encouragement.
-
I made a set of student feedback templates for my students to use during peer editing time.
I could go on, but I think you get the picture.
The Super Easy Method
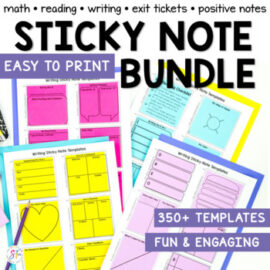
The easiest way to print on a sticky note is to buy a pre-made sticky note template. I have a TON in my store and you can find them all right here.
Once you download the template you will follow these three easy steps.
Step 1:
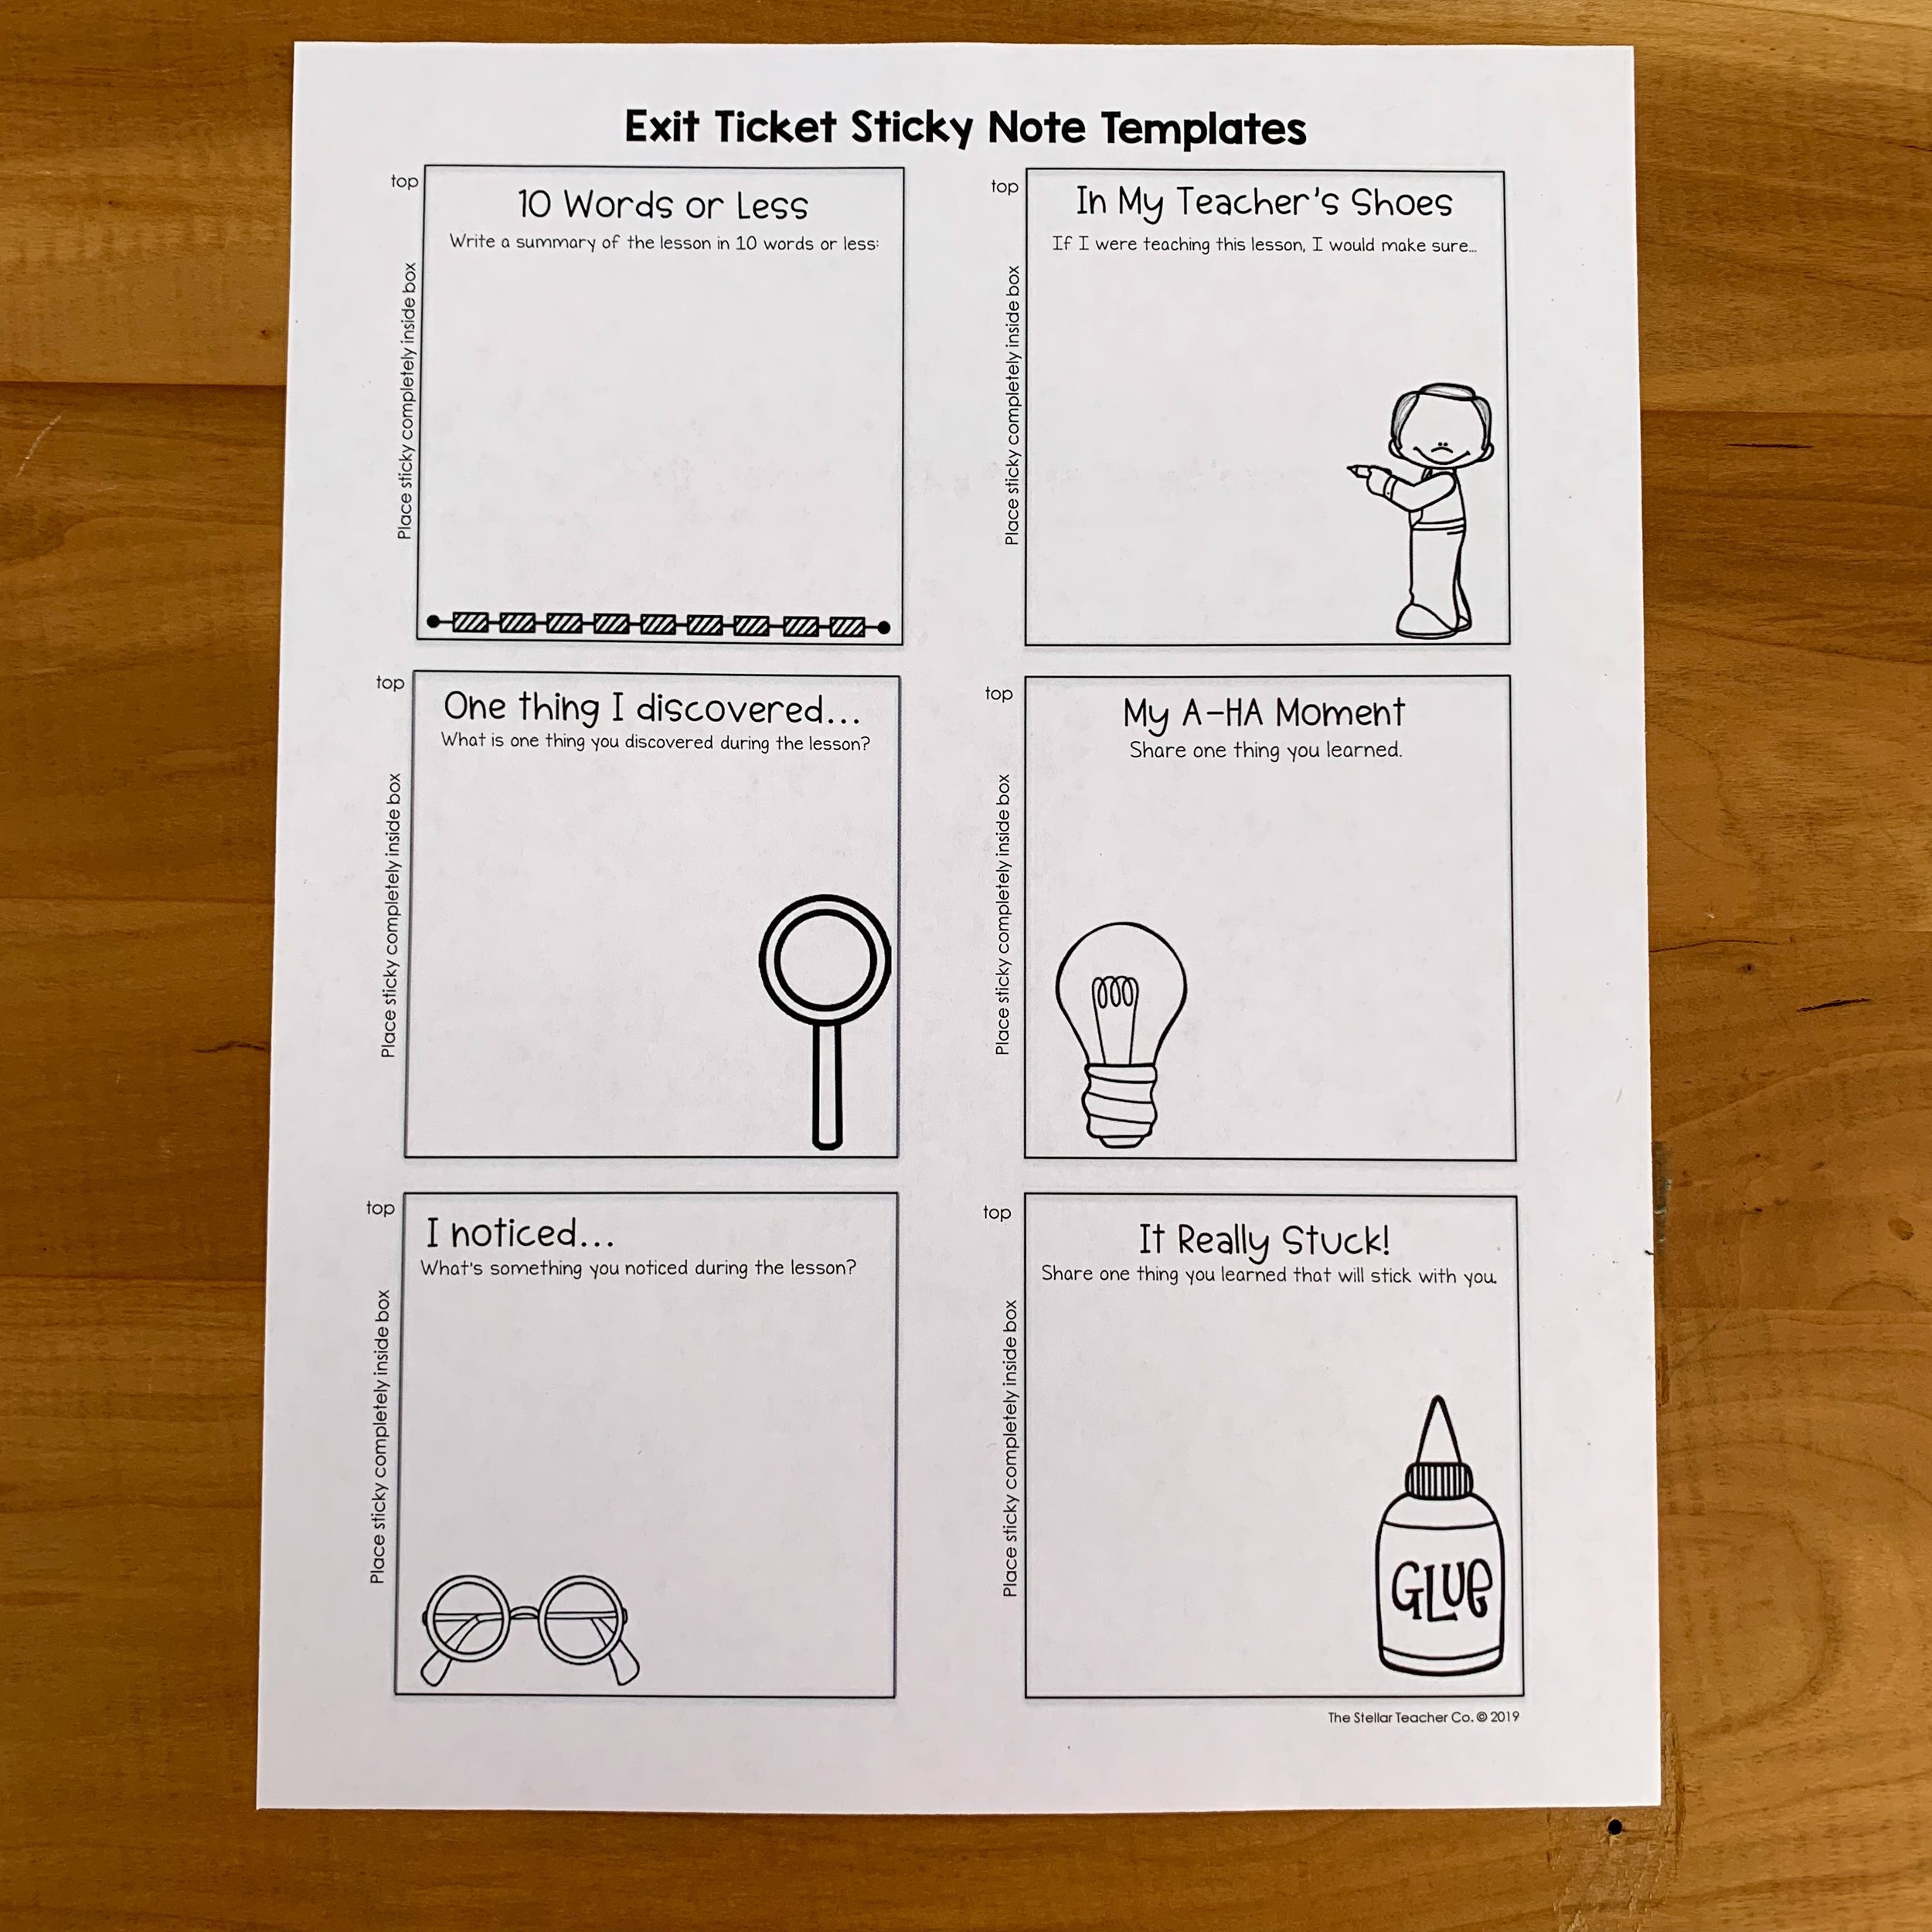
Print the template on regular computer paper. You might have to play around with the settings before you start mass producing your sticky notes. You want to make sure that when you print the template you have a 3in x 3in square that will perfectly fit your sticky note.
Step 2:
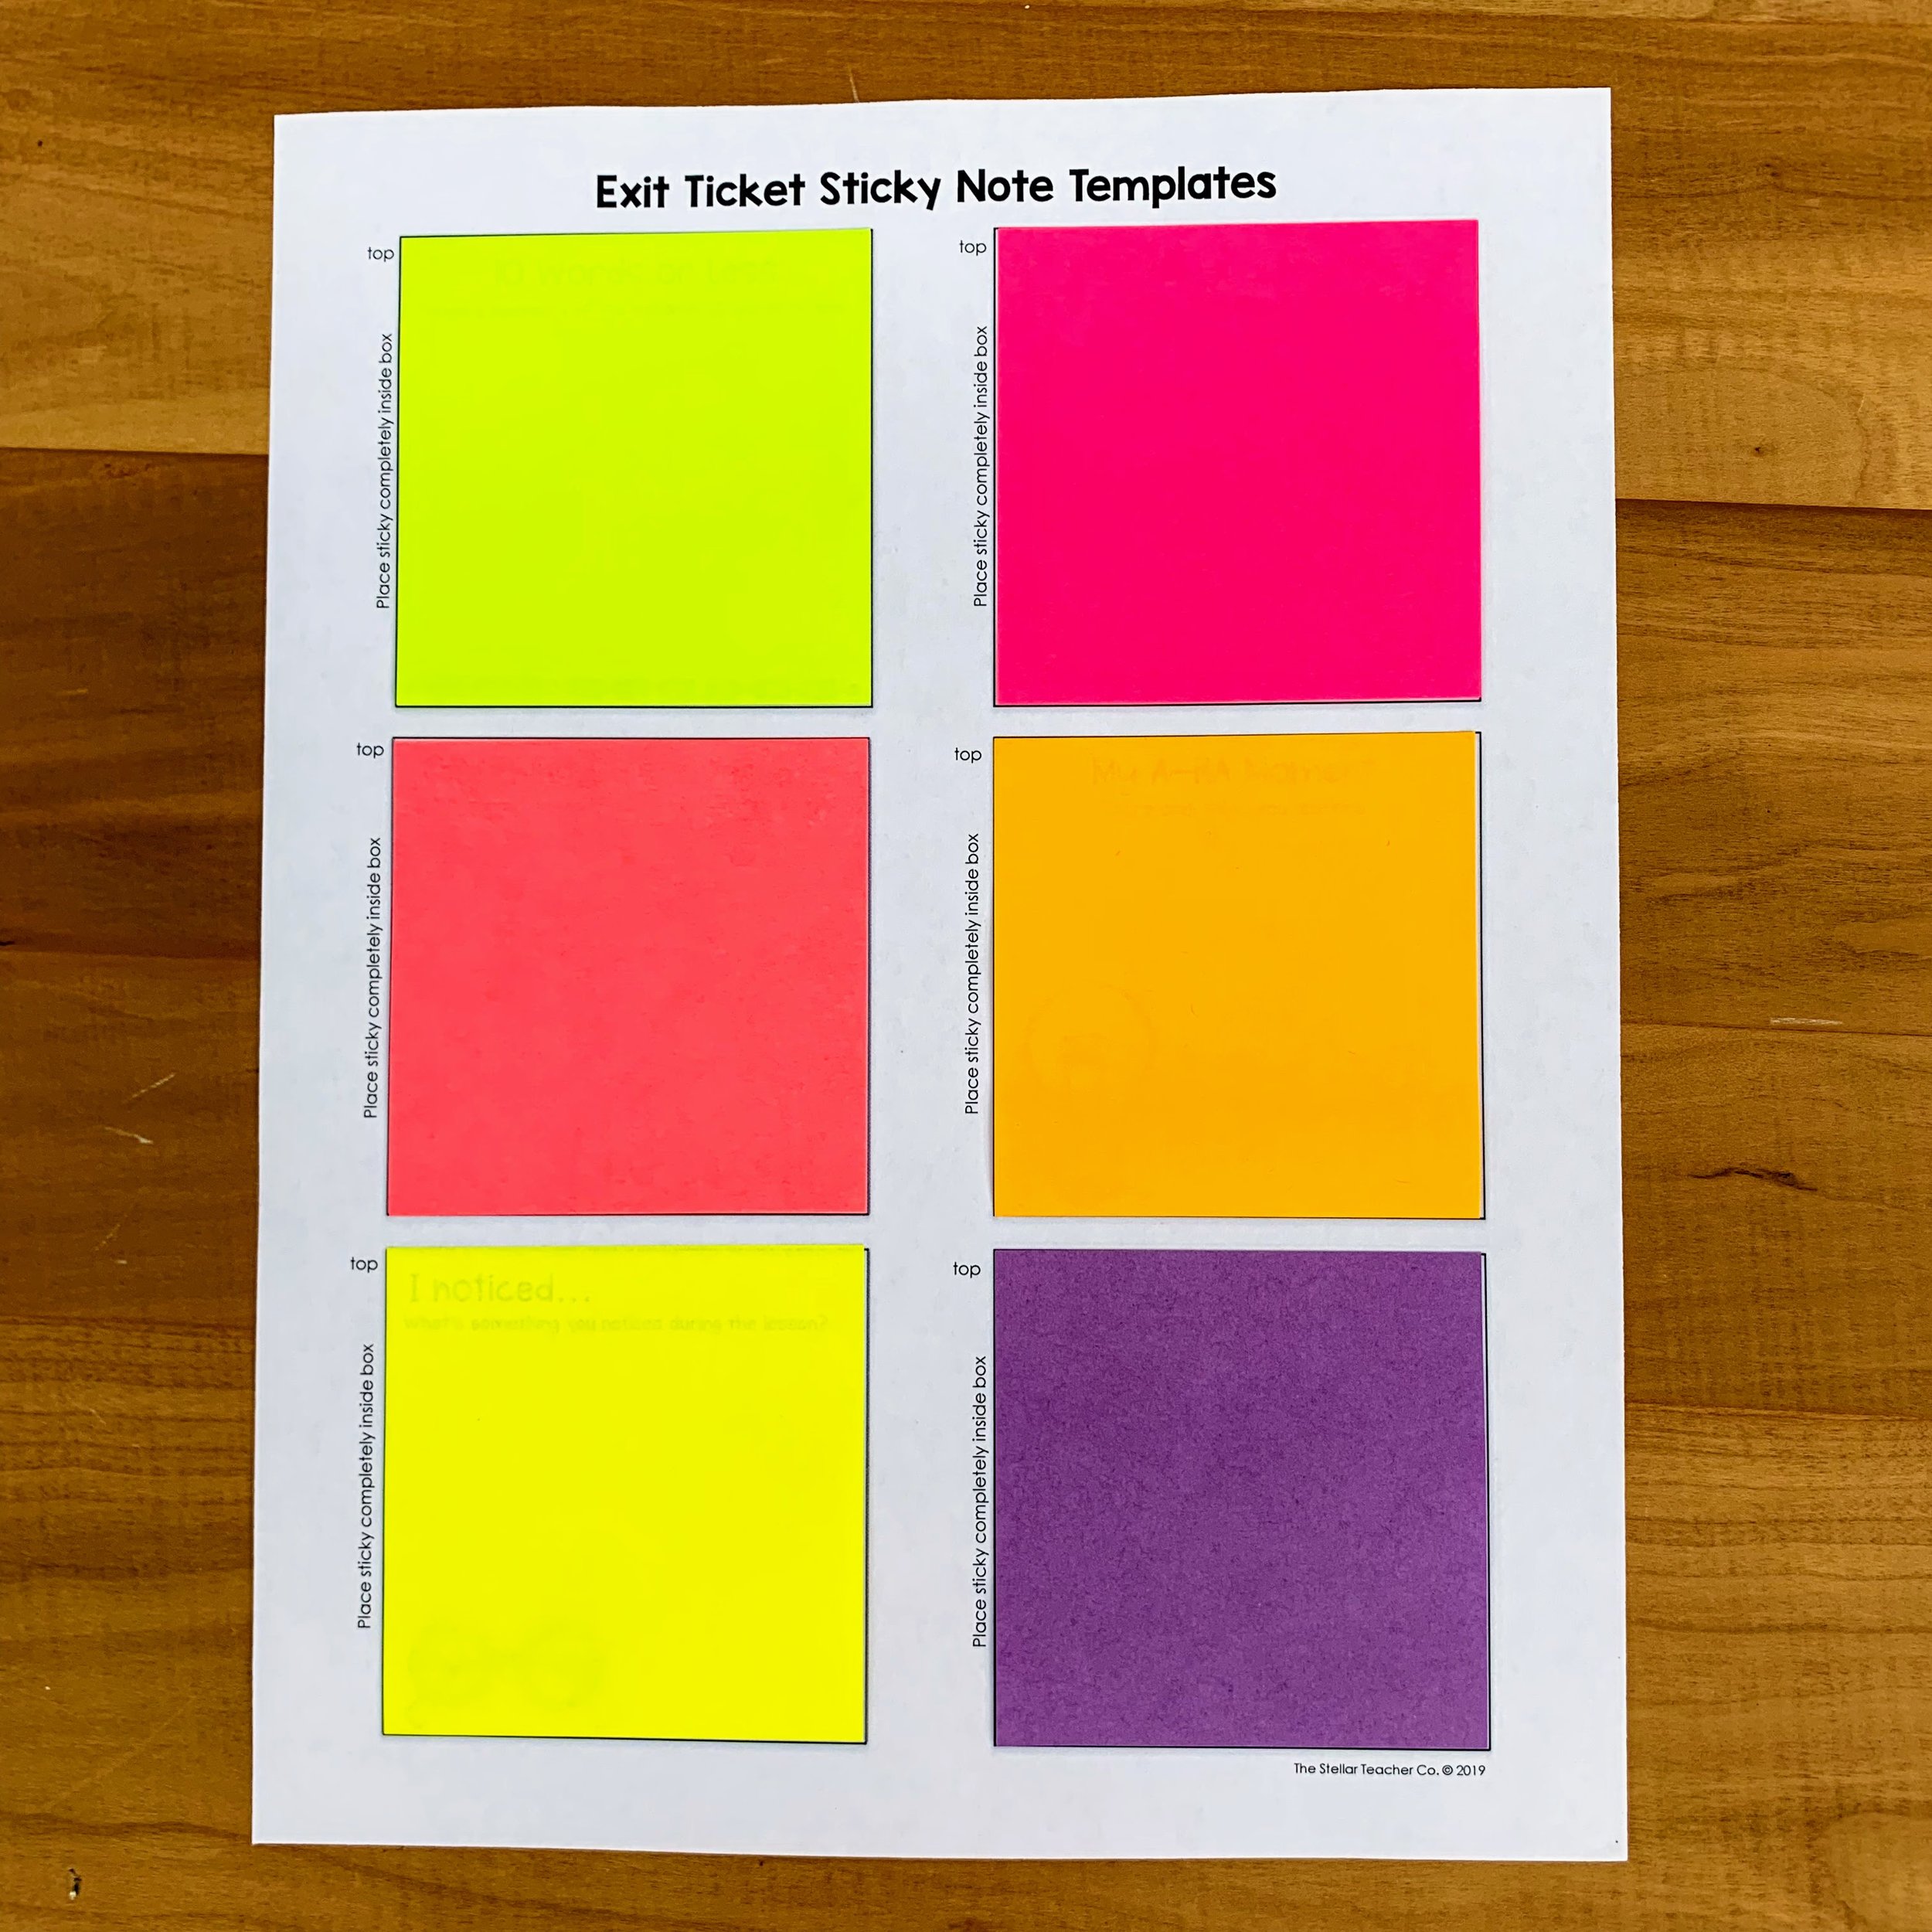
Once the template is printed, place your sticky notes on top of the template. This is probably the easiest step.
Step 3:
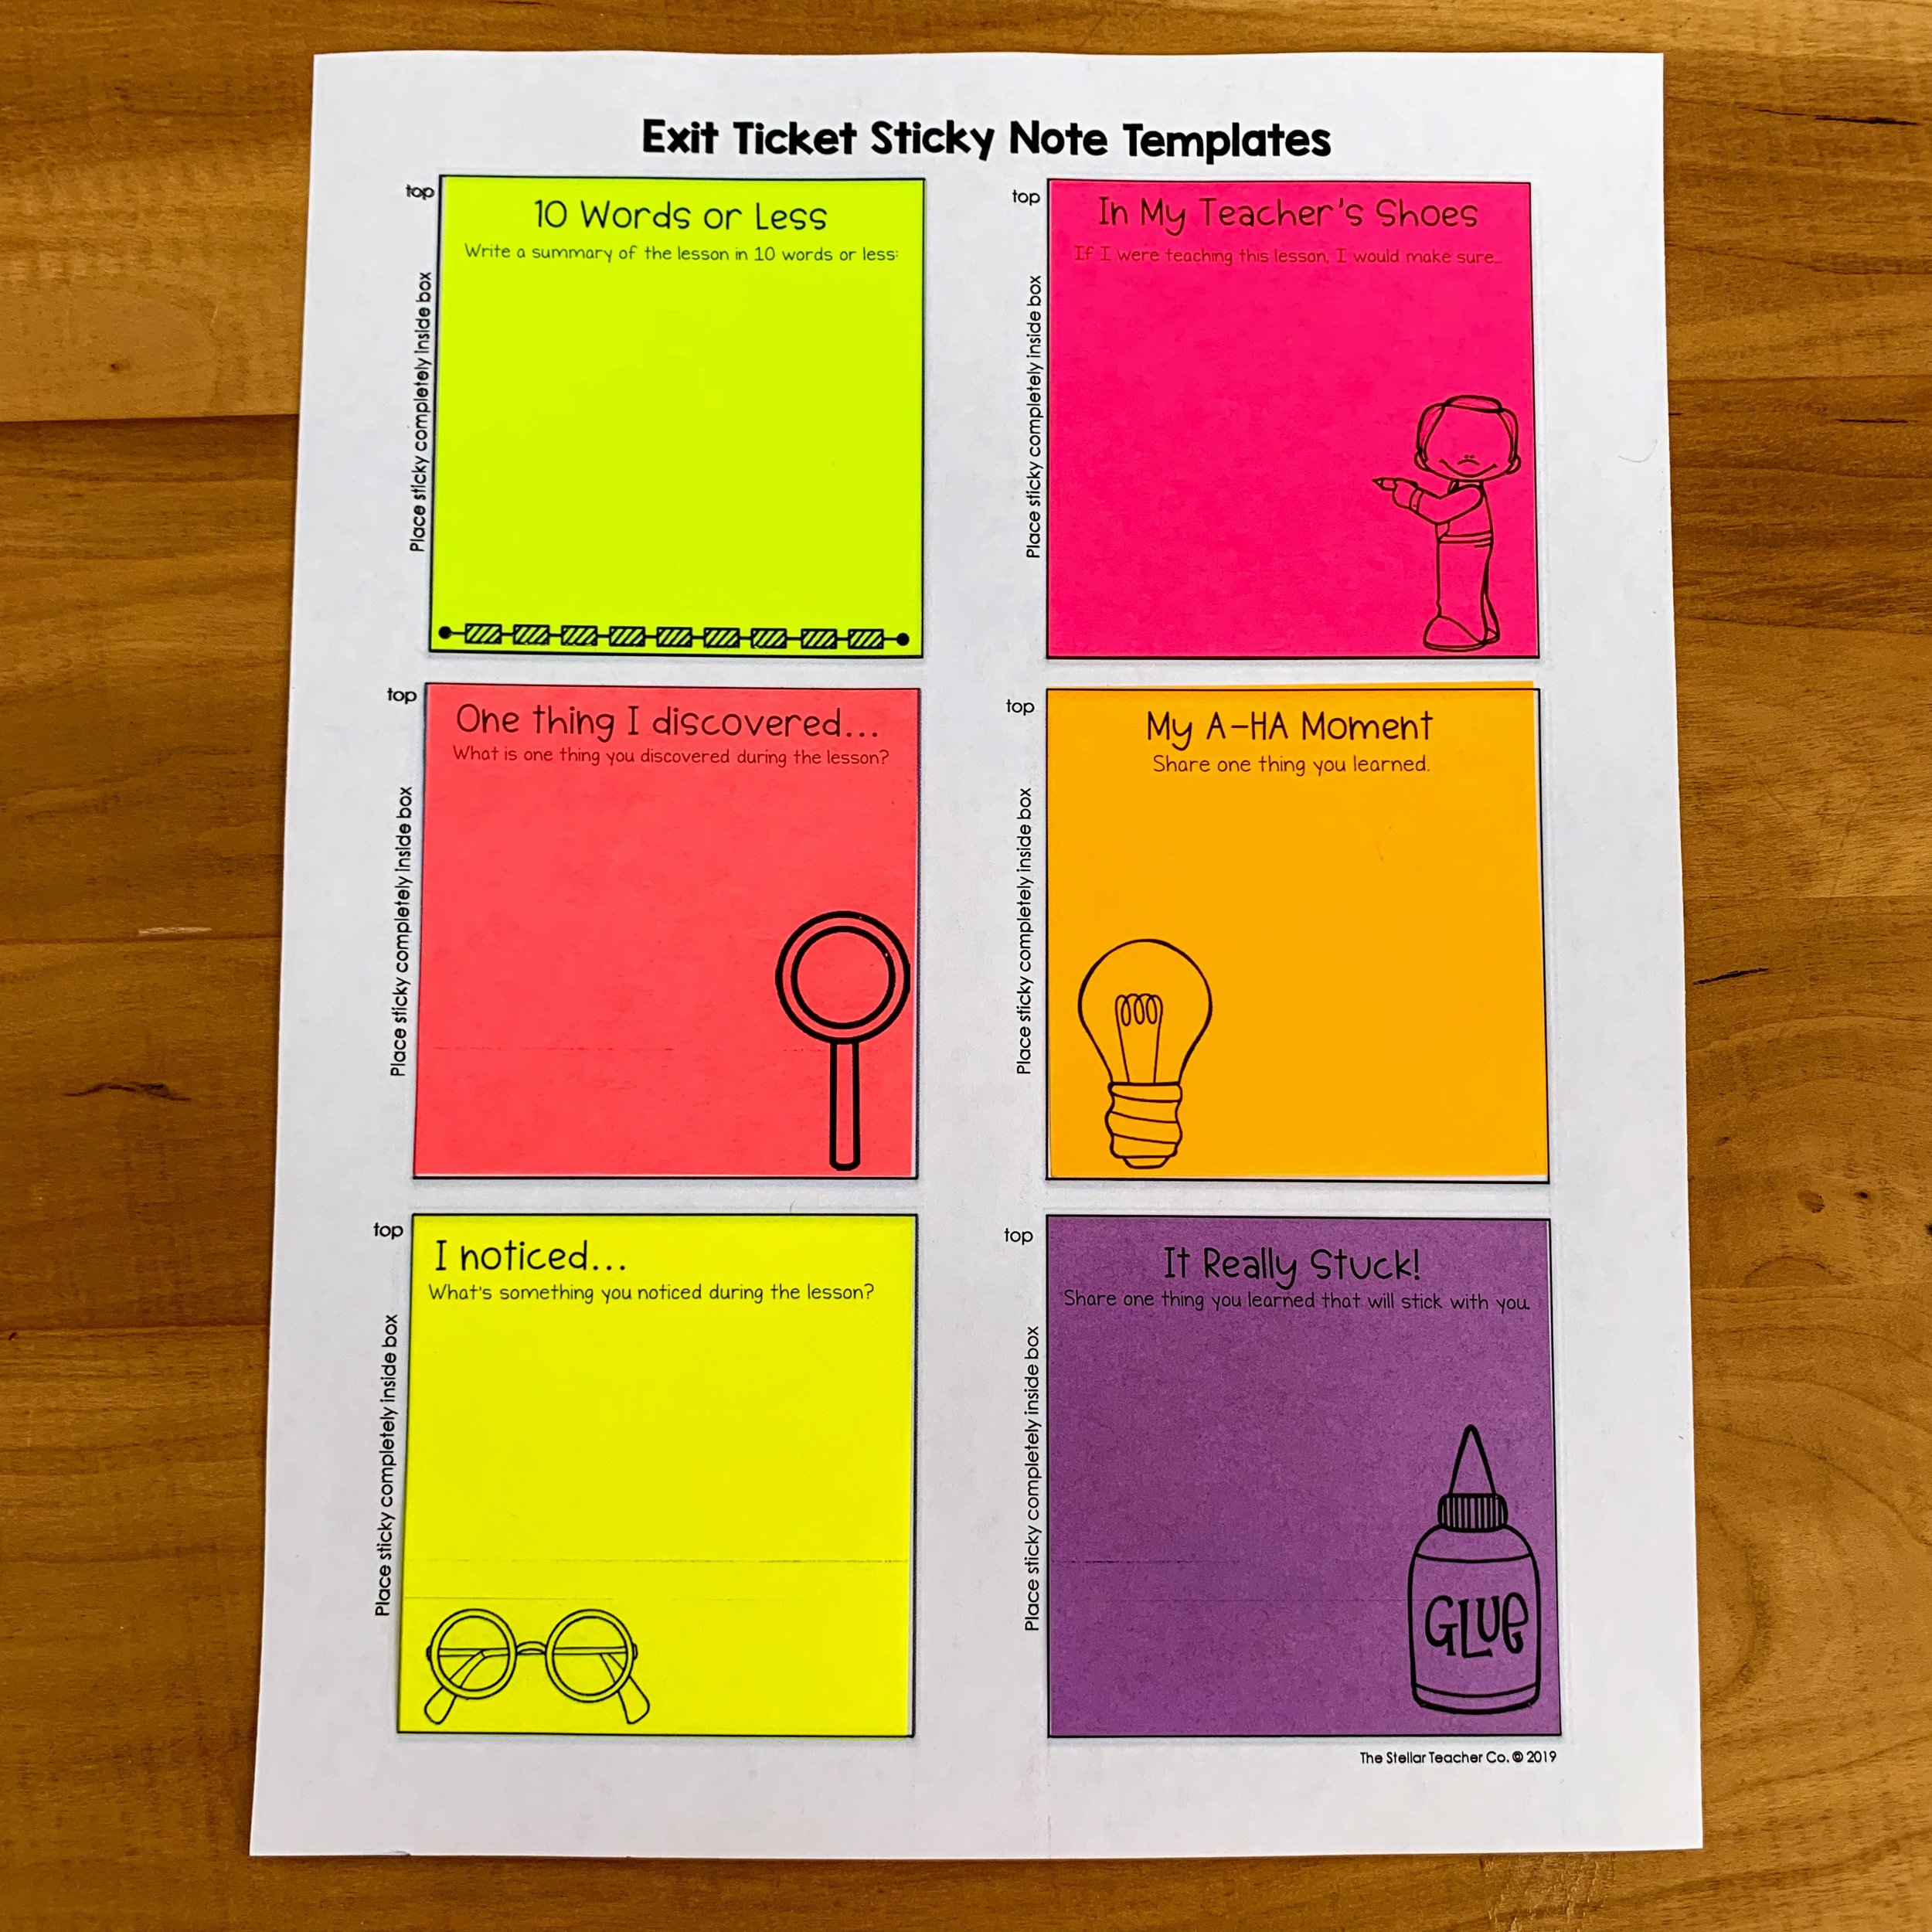
Place the paper with the sticky notes on it back into your printer and reprint the template again. This time when you print, the templates show up on the sticky notes instead of the paper – MAGIC. Right?
Before you go start printing on all your sticky notes, I have just one little warning – Make sure you know how your printer or copier feeds the paper. You don’t want to be responsible for jamming up the only working copy machine at your school because you put the sticky notes in backwards. I usually print mine at home, just to be on the safe side.
The Semi Easy Method
So let’s say you’re like me. You’re a MAJOR CONTROL FREAK and rather than buying a template you want to make your own. It bothers you if all the fonts in your classroom don’t match, and you want things done exactly your way. Look, I get it. No need to explain or apologize. You do you boo.
My templates aint gonna work for you, if you aren’t in love with the fonts KG Blank Space and KG First Time in Forever.
If this sounds like you, you need to make your own sticky note templates… and you can. This too, is quite simple.
-
Open up a new PowerPoint document. Customize the slide size so it is 8.5in x11in portrait size. If you have never changed your slide size in PowerPoint just click on DESIGN in your menu bar. Click on Slide Size and make sure you hit Customize. Fill in as follows. Slides sized for: Custom. Width: 8.5in. Height: 11in. Number of slides from: 1. Orientation Slides: Portrait. Make sure you customize it yourself. The prefilled Letter size includes margins you don’t need.
-
Next you want to add six 3in x 3in boxes. A standard sticky note is 3in x 3in. If you are using smaller or larger sticky notes you will need to change your sizes. To create a box I simply go to INSERT and click on shape. I add a square that looks about the right size. To make sure it is the right size you can right click the shape and then select size and position at the bottom. This will give you the option of setting the size for the shape. Just make sure your height and width are both 3 inches. Once you have the right sized shape just copy and paste it until you have 6 squares on your page. These boxes will be where you type in the content you want on your sticky note so whatever is included in the square will eventually end up on the sticky note. Make sure you are starting with a completely white space.
-
Before you begin creating all your cute templates and mass producing sticky notes, I would print a test copy. Sometimes printer settings will alter the size of things so just print a test page and make sure that the squares you created are actually the same size as a sticky note. If your sizing is a little off just tweak the size of the boxes or your printer settings until you have a perfect fit.
-
Once you have your template size set, then you can put whatever text or images you want on your sticky notes. Just insert a text box in each square or add an image…whatever your little heart desires. You can print encouraging messages to your students, reminders to send home, or create a cute little space for students to jot down their thinking during a lesson.
Once your template is all set, just follow the printing steps above…and again… It’s Magic.
Now if you happen to LOVE KG fonts…or if you have a similar style to me…or if you just don’t want to bother with the hassle of trying to figure out how to print on sticky notes, head over to my TPT store and take a look at all the templates I have created. Can you tell that I’m obssessed?
I’m always looking for new ideas on what I can put on a sticky note. If you have any suggestions or requests, send me a DM on Instagram or e-mail me at [email protected].
AND…. if you’ve never printed on sticky notes before, I want to make sure you can experience all the amazingness of it so I have a little freebie for you below.
Grab Your FREE Gift!
Literacy Block Sample Schedules
Do you ever feel like you don’t have enough time to teach reading the way you want? This planning guide and set of sample schedules will give you tons of ideas for how you can set up your reading block regardless of how much time you do (or don’t) have.






Leave a Comment
You must be logged in to post a comment.